
Butcher block countertops cost about $50 to $150 per square foot installed, according to HomeGuide’s cost page, updated in 2023. The wood is the easy decision. The finish is the hard one, because a surface that is safe for chopping and a surface that shrugs off water are not always the same coating.
This guide sorts the finish choices by what each one gives up, shows how species compare on price and hardness, and explains where wood counters fail in a real kitchen. That is usually around the sink. No independent dataset prices wood counters in Marin, Sonoma or Napa, so the figures below are national estimates. If you are still comparing surfaces, our guide to kitchen countertop materials puts wood next to the other options.
Butcher block basics and the three grain types
A butcher block counter is made of solid wood strips glued into a slab. How the strips face up changes the look and the price. HomeGuide lists end grain, where the cut ends of the wood face up, at $50 to $350 per square foot installed, and edge grain at $40 to $150 or more. It also lists face grain, the wide flat sides, at $30 to $200.
The wide ranges tell you something. Grain type matters less than the species, the thickness and who builds the top. A basic edge-grain maple slab sits near the low end, and a thick walnut island top sits near the high end.
Wood is also a living material. It swells when it takes on moisture and shrinks when it dries, which is why the finish and the room’s humidity matter more here than on stone. Our overview of the best materials for a kitchen remodel shows where a warm natural surface fits among the other choices.
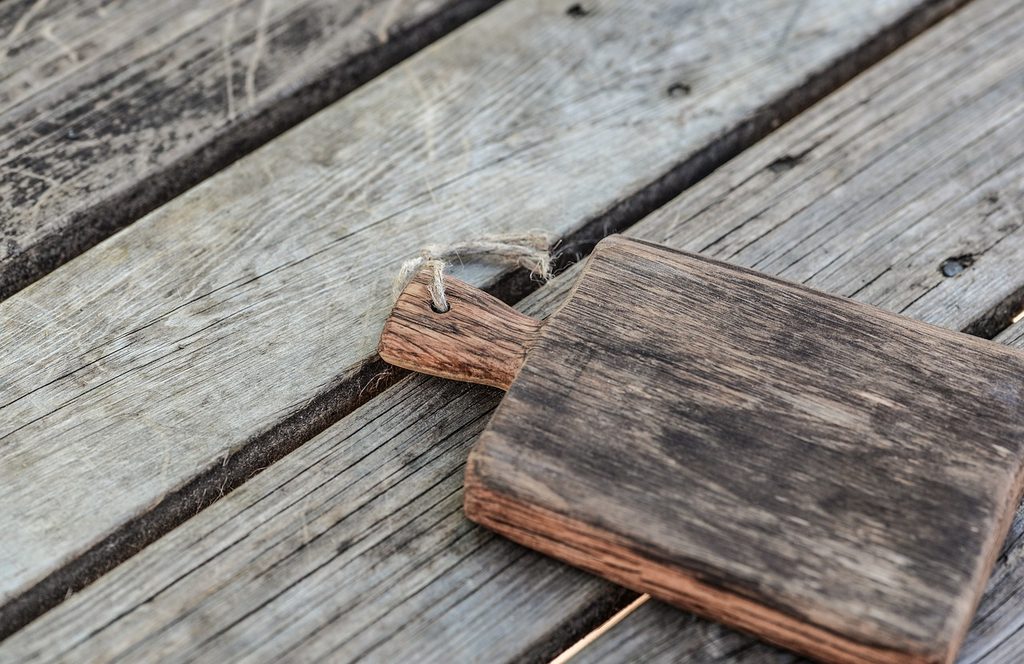
Butcher block countertop cost from a dated source
One dated source anchors the price here, and the table shows its species ranges. HomeGuide’s page was updated in April 2023, so treat every number as a starting point and expect today’s quotes to differ.
| Wood | HomeGuide installed cost per sq ft | Janka hardness (The Wood Database) |
|---|---|---|
| Red oak | $15 to $50 | 1,220 lbf |
| Maple | $40 to $80 or more | 1,450 lbf |
| Walnut | $75 to $300 | 1,010 lbf |
HomeGuide puts butcher block material at $30 to $70 per square foot and installation labor and supplies at $20 to $80. Its range for an average kitchen is $1,500 to $6,000. It also lists cherry at $50 to $275 and birch at $25 to $75.
This guide found no independent county-level price data for Marin, Sonoma or Napa, and no second dated cost source for wood tops, so the table is one source’s view. Projects Within Reach has not published countertop prices. For the whole-budget picture, read our post on planning a modern kitchen remodel without overspending, and see our tips to help you save when remodeling for other places to trim.
Wood species compared by hardness and cost
The Janka scale measures how many pounds of force it takes to push a steel ball halfway into the wood, so a higher number means a harder surface. The Wood Database lists hard maple at 1,450 lbf and lists it for cutting boards and butcher blocks. Red oak is 1,220 and black walnut is 1,010.
Those numbers point to a trade-off. Walnut is the softest of the three and the priciest, so it will show dents sooner. Maple is harder and mid-priced. Red oak is the cheapest option by HomeGuide’s figures, but The Wood Database says its pores are so large and open that air can pass through along the grain.
Open pores matter because liquid can follow them. That makes oak a riskier choice near a sink unless the finish is thorough, which is an inference from the pore description, not a claim the source makes. A fabricator can tell you which species they have seen hold up.
If the top is a large kitchen island, the species also sets the mood. Our look at kitchen islands that steal the spotlight shows how a wood top can anchor a room.
Food-safe oil versus waterproof finish
Here is the core trade-off. Oils soak in, stay close to bare wood and are easy to repair, but they give weak water protection and need frequent refreshing. Hardened finishes resist water far better, but they form a film or cured layer that may not suit a cutting zone, and fixing them takes more work.
The table sets the common options side by side, with the source for each claim.
| Finish | Food contact | Water protection | Reapply |
|---|---|---|---|
| Mineral oil or butcher block conditioner | Food safe (Jaaron, SlabWise) | Poor (Jaaron) | Every 1 to 3 months (SlabWise) |
| Penetrating hardwax oil | Food safe after full cure for Rubio Monocoat (Jaaron) | Protects well (Jaaron) | Once a year or every other year (Jaaron) |
| Cured tung oil and varnish systems | Food safe after curing, per Waterlox | Waterproof, per Waterlox | Not stated on the page |
| Film finishes such as polyurethane | Not advised for cutting zones (SlabWise) | Best of the group (SlabWise) | Strip and recoat when they fail |
Conditioning oils and water protection
Jaaron Wood Countertops, a fabricator, warns that a conditioning oil is not a sealer. Its page says it is not stain or water resistant and should not go on a top with a sink. The fabricator also says nothing else can go over a conditioner once it is applied, so the first choice matters.
Cured finishes and cutting zones
Waterlox says its interior finishes are food safe after curing and waterproof, and it recommends them for butcher block and for tops with sinks. Those are the maker’s claims, and the page does not say whether you may cut directly on the cured surface. Ask the manufacturer before you do, and keep a separate board in the meantime.
I tell clients to pick the finish by the zone: oil where the knife lives, and a harder finish on islands and runs that only see plates and elbows. Our guide to warm versus sleek kitchen aesthetics and our overview of top kitchen cabinet trends help you pair the wood with cabinet color.
Sealing steps and the upkeep schedule
Preparing the underside before installation
Start with the underside. SlabWise’s sealer guide says to oil the bottom of the slab with at least two coats before it goes on the cabinet, because an unfinished underside sits in a closed, humid space and can warp. That is a vendor recommendation, but it is cheap to follow and easy to ask about.
Oiling a new unfinished top
For a new, unfinished top, HomeGuide says to treat it with mineral or another food-safe oil right after installation, once a week for the first month, and at least monthly after that. A finished top may need resealing about once a year, or sooner if damaged. HomeGuide puts sealant at $20 to $50 per pint.
Hardwax oil maintenance
Hardwax oils follow a different rhythm. Jaaron says Rubio Monocoat needs refreshing once a year or every other year, and SlabWise says a hardwax oil lasts one to two years. Both sources describe it as repairable without stripping the top.
Wall seams and daily upkeep
Watch the wall seam. SlabWise advises against silicone caulk where the top meets the wall, because it can trap moisture, and suggests a wood-compatible sealant or a small breathing gap. That comes from one vendor, so ask your fabricator what they use and why.
Daily upkeep is simple. HomeGuide says to clean spills right away, rinse and dry the surface and use trivets under hot pans. A damaged or stained patch can be sanded and resealed, which is a real advantage over a chipped stone edge.

Sink area and humidity failure modes
Protecting the sink cutout
Wood fails first where water sits. HomeGuide says sealing matters most around the sink cutout, because wood is porous. SlabWise adds that the cut edges expose end grain, which drinks water. It recommends five to six coats of tung oil or hardwax oil on those edges before installation and a refresh every three to four months.
Seasonal movement and humidity
The second failure is seasonal movement. The USDA Forest Products Laboratory’s diagnostic guide notes that changes in wood moisture content cause swelling and shrinkage. Air at 15 percent relative humidity brings wood to about 3 percent moisture, while 80 percent humidity brings it to about 16 percent. A swing of only a few points can change dimensions noticeably.
Your kitchen will not see those extremes, but a kitchen that is closed up in winter and steamy in summer will still move the wood. Small gaps at joints, cupping and a finish that cracks at a seam are the usual symptoms. A stable, well-finished top moves less than a bare one.
If the sink is the heart of your kitchen, think hard about the zone. A wood counter beside the range and a stone run at the sink is a common compromise, and our tips on smart kitchen design explain how to plan work zones that make that split natural.
Cutting, cleaning and food safety
Cleaning guidance for cutting boards
Wood is allowed to touch food. The USDA Food Safety and Inspection Service’s cutting board page says consumers may use either wood or a nonporous board such as plastic or glass. It advises washing with hot soapy water and sanitizing with one tablespoon of unscented liquid chlorine bleach per gallon of water.
That guidance covers cutting boards, not whole counters, so use it as a rule of thumb for the cutting zone and not as a standard for a finished slab. Bleach can also pale some finishes, so check the finish maker’s cleaning advice first.
Deep grooves and separate prep boards
The FSIS also says a board with deep grooves should be discarded. You cannot discard a counter, which is the argument for sanding out damage early and for keeping a separate board for raw meat. A worn board is cheap to replace and a worn slab is not.
If you want to stretch space, our guide on how to maximize kitchen space and boost functionality shows where a dedicated prep zone can sit.
Choosing wood, and who should skip it
Who will enjoy wood countertops
Wood suits a household that likes a warm surface and will refresh it on a schedule. It suits cooks who prep a lot and accept visible wear, and homes where a patch of knife marks reads as character. It also suits a budget that wants a mid-range top without a stone fabricator.
Who should consider another surface
It is a poor match for anyone who wants a no-upkeep counter, a sink run that stays dry-looking for a decade or a surface that never changes. If you leave a wet pan on it, it will tell you. In that case, a harder stone or an engineered surface is the calmer choice.
The sources reviewed are plain on this point. HomeGuide’s price range is wide, the finish sources disagree on schedules, and no one source covers the whole cost of ownership. Budget time as well as money.
For a quiet corner where a wood top can double as a homework or coffee spot, see our ideas for breakfast nooks.
For lower-impact choices, the guide to eco-friendly kitchen renovations is a useful next read. A designer can also help you decide, and our explainer on working with a kitchen and bath designer shows how that goes.
FAQ
Cost of finishing supplies
HomeGuide puts butcher block sealant at $20 to $50 per pint, and that figure is from 2023. Plain mineral oil costs much less according to SlabWise, which lists $5 to $15 per quart. The bigger cost is the time you spend reapplying it.
Oiling schedule for a new top
HomeGuide recommends weekly oiling for the first month, then at least monthly. SlabWise says mineral oil needs redoing every one to three months, so the sources overlap more than they disagree. Follow the maker’s schedule for the exact product you buy.
Bleach on a wood counter
The FSIS says one tablespoon of unscented chlorine bleach per gallon of water sanitizes wooden boards. That guidance is written for cutting boards, so ask your finish maker before you use bleach on a finished counter.
Your next step is a conversation
Still deciding between wood and stone? Book a free discovery call. It is an honest conversation about your home, with no sales pitch and no obligation. Ask for our free “Planning your remodel budget” guide while you are there, and use the contact page to start. You can also see how a project runs, from first sketch to final walkthrough, on the our process page.