
A kitchen island with seating works when each stool gets 24 inches of width, 12 to 18 inches of knee space and a clear path behind it. The National Kitchen & Bath Association sets those numbers, and they decide how many seats fit, far more than the photo you saved does.
Most island plans fail on the room around the island, not on the island. A seat that blocks the dishwasher door or the walkway to the back door will annoy you every morning. This guide gives you the numbers first, then maps them to three households: the homework at the counter family, the household that entertains, and the single cook who wants room to work.
If you are still deciding whether your kitchen needs an island at all, our look at kitchen islands that steal the spotlight covers the style side.
Seat width and knee space by counter height
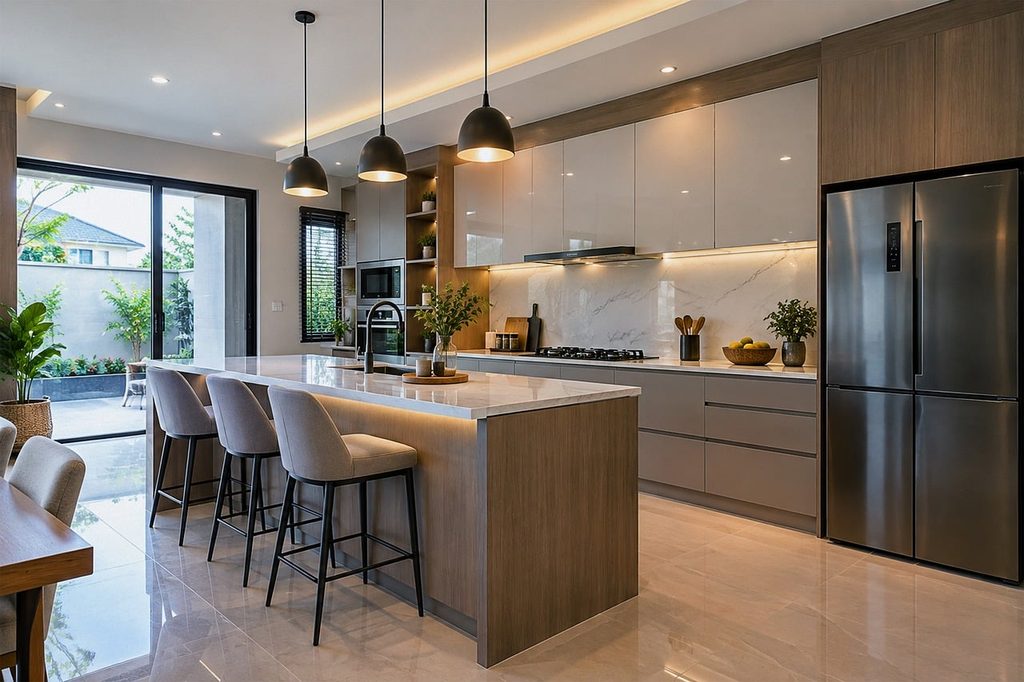
Match stool height and knee space to the counter
The knee space under the counter changes with the counter height. NKBA’s kitchen planning guidelines give a minimum knee space for each seated diner, and the table below lists it with the stool that fits, using stool ranges from a Home Depot measuring guide.
| Counter height | Knee space per diner (NKBA) | Typical stool seat height |
|---|---|---|
| 30 inches (table height) | 24 inches wide by 18 inches deep | Standard dining chair |
| 36 inches (counter height) | 24 inches wide by 15 inches deep | 24 to 27 inches |
| 42 inches (bar height) | 24 inches wide by 12 inches deep | 28 to 33 inches |
The Home Depot guide suggests measuring from the floor to the top of the counter and subtracting 10 inches to find the seat height. It also suggests 26 to 30 inches from the center of one stool to the next. That is wider than the 24-inch NKBA minimum, and it is worth using when your island length allows it.
Counter height is a daily-use choice, not a style choice. A 36-inch counter doubles as a prep surface and a homework table, but it asks for 15 inches of overhang. A 42-inch bar needs 12 inches of overhang and hides a messy sink from the family room, though it is harder for small children and anyone with mobility limits to use. Our smart kitchen design tips explain how to weigh these daily-use choices.
The room-width test before you add seats
Add the seat clearance to the work aisle
Seats need floor space behind them, and cooking aisles need floor space in front of them. NKBA recommends a work aisle of at least 42 inches for one cook and 48 inches for more than one. For the seats, it recommends 32 inches from the counter edge to the wall behind when nobody passes, 36 inches when someone needs to edge past, and 44 inches when people walk past a seated diner.
Add those together and you get the room width an island with seating needs. The table below is this guide’s own arithmetic, built from the NKBA numbers. It assumes a 24-inch base cabinet run on one wall, a 36-inch-high island with 24 inches of cabinet and a 15-inch overhang, and no other obstruction.
| Scenario | Perimeter cabinets | Work aisle | Island plus overhang | Seat clearance | Room width |
|---|---|---|---|---|---|
| One cook, wall behind the seats | 24 in. | 42 in. | 39 in. | 32 in. | 137 in. (11 ft 5 in.) |
| One cook, people edge past | 24 in. | 42 in. | 39 in. | 36 in. | 141 in. (11 ft 9 in.) |
| One cook, people walk past | 24 in. | 42 in. | 39 in. | 44 in. | 149 in. (12 ft 5 in.) |
| Two cooks, people walk past | 24 in. | 48 in. | 39 in. | 44 in. | 155 in. (12 ft 11 in.) |
If your kitchen is narrower than 11 feet between the wall cabinets and the opposite wall, a seated island will not meet these recommendations. A peninsula, a drop-leaf counter or a table at the end of the room may serve you better. Our post on kitchen layout mistakes designers avoid explains why tight aisles are the mistake that costs the most to fix.
Measure your room before you shop for an island. The guide to maximizing kitchen space shows how to find extra inches in the plan.
Seating for a family that does homework at the island
Keep homework seats near the family zone
A household with school-age children uses the island for breakfast, snacks and homework, often at the same time. The guide’s own judgment, not a code requirement, is to place those seats where the cook can see the page and the child cannot reach the cooktop. That means seating on one short side of the island or along the side opposite the range.
Two or three seats on one side cover most families. A 6-foot island fits three seats at the NKBA minimum of 24 inches each, but two at the roomier 26 to 30 inches. A family of four with a homework table nearby may do better with a shorter island and a separate table.
Keep the sink and dishwasher out of the seating zone, because a seated child and an open dishwasher door cannot share the same floor space. Our guide to designing a social kitchen shows how to place the work zones so the cook and the family can talk. If the island is not the right spot for meals, breakfast nook ideas offer an alternative.
Seating for a household that entertains
Leave a clear path behind seated guests
Guests drift to the island, and then they stay. A kitchen that hosts needs more seats than the household uses on an ordinary Tuesday, and it needs a clear path for people walking behind them. That is the 44-inch row in the table above, and it is the number most plans miss.
Seating on two sides of a corner lets guests face each other, and an L-shaped overhang gives the host a place to stand across from them. The cost is a longer countertop and more support, which later sections cover. A seat on the island’s end is easy to add and costs less than a long run.
Place the seating zone away from the main prep area. A guest on a stool beside the cutting board slows the cook, and a hot pan crossing behind a guest is a safety problem. Our article on open concept kitchen ideas shows how the island links to the living room, and layered kitchen lighting explains how to light guests without lighting up the dirty dishes.
Seating for one cook who wants room to work
Protect work space before adding stools
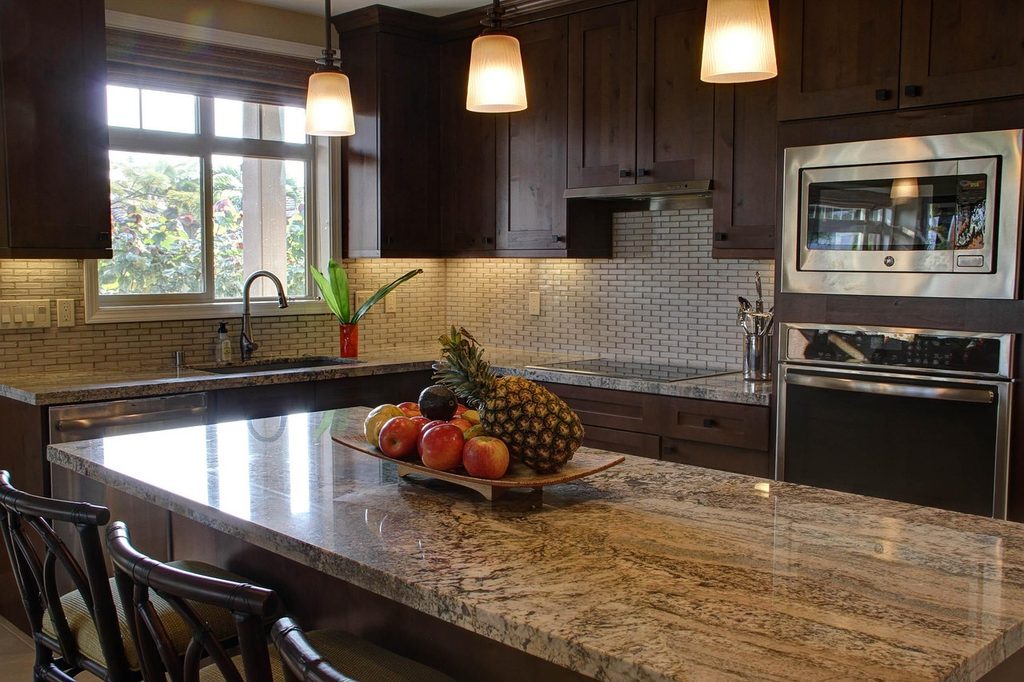
Some cooks do not want an audience. If you cook alone and the household eats at a table, two stools at the end of the island may be all you need, or none. A work aisle of 42 inches for one cook, per NKBA, keeps a single-cook kitchen workable, and 48 inches helps when two people cook together.
A small kitchen with an island pays a price in aisle width. If your plan forces the aisle below 42 inches to fit stools, drop the stools first. Counter space for chopping and landing a hot pot beats a seat you will use rarely. The micro-kitchen article shows how small kitchens work when every inch has a job.
A rolling cart or a counter-height ledge on the end of a run can give you a place to perch with coffee without committing to a full island. Price it against the cost of moving lines and walls, which the plumbing section below covers.
Overhang and support are set by the stone
Follow the stone maker’s support limits
The overhang that gives your knees room must also carry weight. Stone makers publish limits, and a fabricator’s habit does not replace them. Cambria’s installation guideline says the overhang should be no more than one third of the base cabinet depth, even with corbel support. It also says a 3-centimeter slab needs added structural support past 15 inches, and a full substrate with a vertical support every 36 inches past 24 inches.
Caesarstone’s overhang guide applies a one-third rule to the countertop depth and adds a 15-inch ceiling for quartz. The two brands measure the rule in different ways, so the allowed number depends on whose slab you buy. A 15-inch seating overhang on a 24-inch base cabinet sits at Caesarstone’s ceiling and is well past one third of the cabinet depth, which is about 8 inches, so it needs support and may exceed a brand’s limit even with it. Ask your fabricator how the top will be supported, which brand’s limit applies, and get the answer in writing.
A bracket or steel corbel under the overhang is a small cost against a cracked top. Our countertop materials guide compares how stone, quartz and other surfaces behave, and the planned quartzite guide will go deeper on natural stone.
Outlets, appliances and moved plumbing
Plan appliances, wiring and plumbing early
An island seldom stays a plain slab. The 2026 Houzz Kitchen Trends Study found that 58 percent of renovating homeowners add or update an island, and 53 percent install at least one new island appliance, most often a dishwasher (35 percent) or a microwave (32 percent). Each appliance brings plumbing or wiring into the middle of the floor.
Outlets are a code question with a recent change. An NFPA review of the NEC says the 2020 edition required at least one island receptacle for the first 9 square feet of countertop. The 2023 edition requires none, but it asks for provisions to add one later, and it does not allow island outlets below the countertop. California adopts its own electrical code on its own schedule, so ask your electrician or building department which edition applies to your address.
Moving plumbing or wiring also affects permits. Marin County’s Community Development Agency says a non-structural kitchen remodel of 400 square feet or less can use its online minor improvement permit, and larger remodels need plans up front. Permit Sonoma says rearranging plumbing or electrical requires a permit. Rules vary by city, so confirm with your building department. This guide makes no Napa claim.
Appliances and utilities in an island raise the project budget more than the stone does. Our guide to tips to help you save when remodeling covers where to hold the line, and the post on kitchen cabinet trends shows how island cabinets can differ from the perimeter.
Choosing stools and lighting that fit
Choose stools after setting the counter height
Pick stools after you finalize the counter. The Home Depot rule of 10 inches below the counter gives a seat height of 26 inches under a 36-inch counter. Backs and arms change how far a stool tucks in, so measure the stool’s width against your 24-inch minimum, and check that it clears the overhang when pushed in.
Stool comfort decides whether anyone sits. A backless stool tucks under the counter and keeps the walkway clear, while a stool with a back suits a long dinner but pokes into the aisle. Pendants over the island change the view from the seats, so check hanging heights with your electrician before you buy. Our guide to kitchen lighting design tips helps you place them.
If the plan is still taking shape, our guide to planning a modern kitchen remodel without overspending lays out the order of decisions.
FAQ
Island seat width per person
NKBA recommends 24 inches of width per seated diner, and the Home Depot guide suggests 26 to 30 inches from center to center. A 6-foot island fits three stools at the minimum, and an 8-foot island fits four. Allow more width when stools have arms or guests sit for a long dinner.
Counter height versus bar height seating
A 36-inch counter takes 24-to-27-inch stools and asks for 15 inches of knee space. A 42-inch bar takes 28-to-33-inch stools and needs 12 inches. The counter height works better for children and prep, while a bar hides clutter behind the raised ledge.
Outlet requirement for an island
The 2020 NEC required an island receptacle, the 2023 NEC does not, and it asks for a provision to add one. California adopts its own code on its own schedule. Ask your electrician or local building department which edition governs your project before you order the island.
Your next step is a conversation
Bring your room dimensions and priorities
Still unsure which island fits the room you have? Book a free discovery call. It is an honest conversation about your home, with no sales pitch and no obligation. Ask for our free “Planning your remodel budget” guide while you are there, and use the contact page to start. You can also see how a project runs, from first sketch to final walkthrough, on the our process page.